Sample preparation techniques
Cross sectioning methods and tools
Broad Ion Beam (BIB)
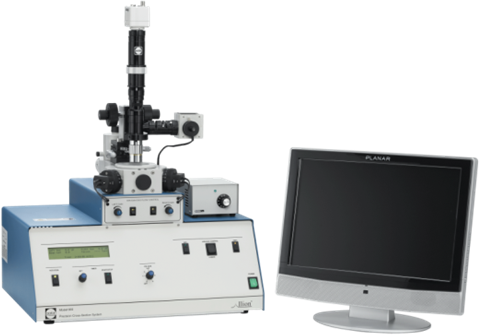
Broad Ion Beam (BIB) cross section polisher is a special tool for making the highest quality cross section surfaces. With accelarated ions (typically Argon) the collisions between these ions and atoms in the sampe material can be removed (sputtering) without mechanical stress on the sample. With the help of a mask plate a planar cross section surface can be achieved. The quality of these cross sections are top notch while preserving the inner structure of the sample material.
Mechanical polishing
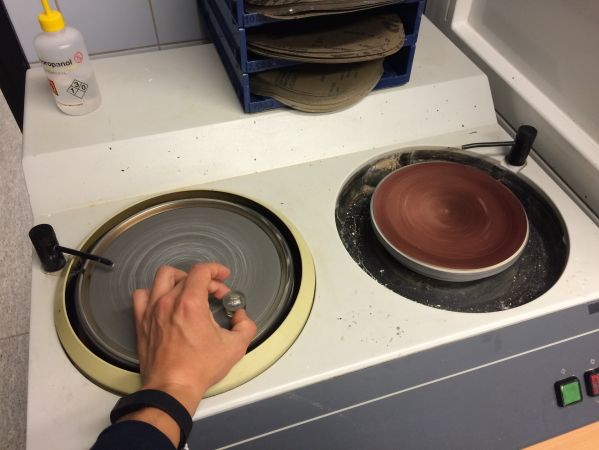
Mechanical polishing is a traditional method to create cross section surface on a sample. The samples are typicalle molded into epoxy or they can be polished as they are if possible. We are using both silicon carbide and diamond polishind papers/discs.
Microtomy
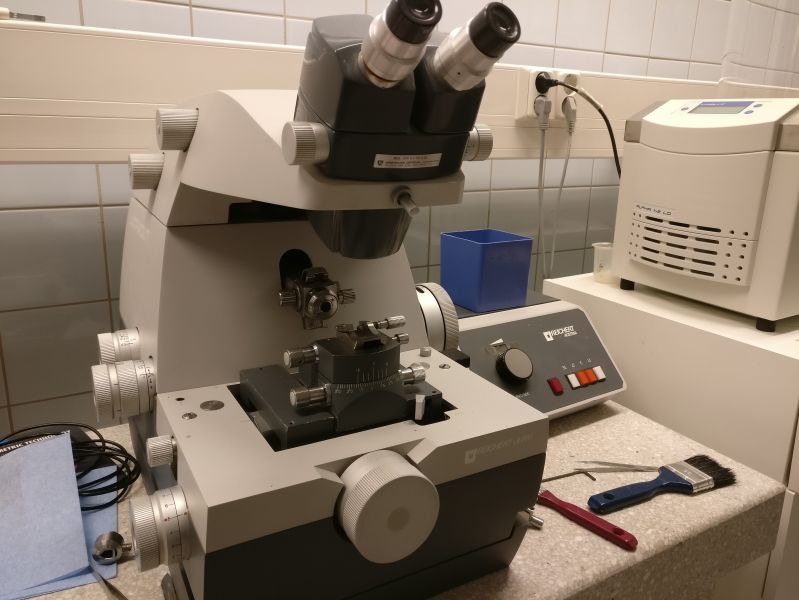
Microtomy is also more of a traditional tool for cross sectioning. With a sharp glass or diamond knife small sections can be carved off from a sample to prepare cross sections.
QUV testing chamber
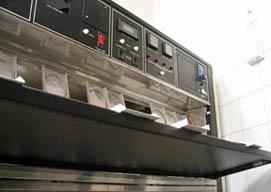
QUV testing simulates the stress under different weather conditions. Samples are exposed to ultraviolet radiation and moisture to tostrain the samples in an acceleraten manner. The testing is suitable for example corrosion behaviors.
Chemical treatments
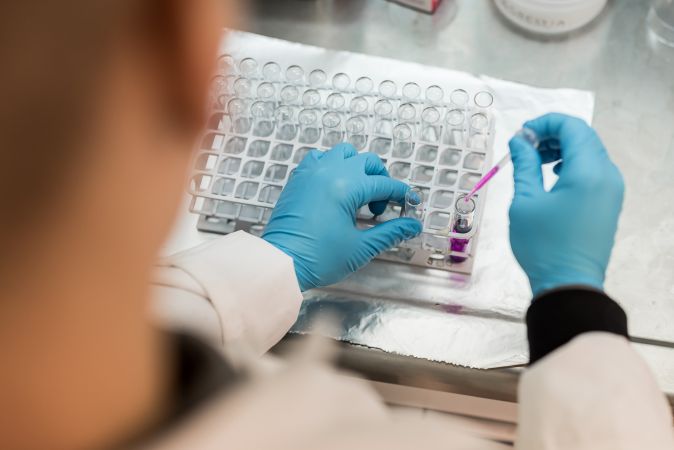
If required we can do various chemical tests and treatments to samples
- Acidic treatments
- Corrosion exposure
Paint coatings
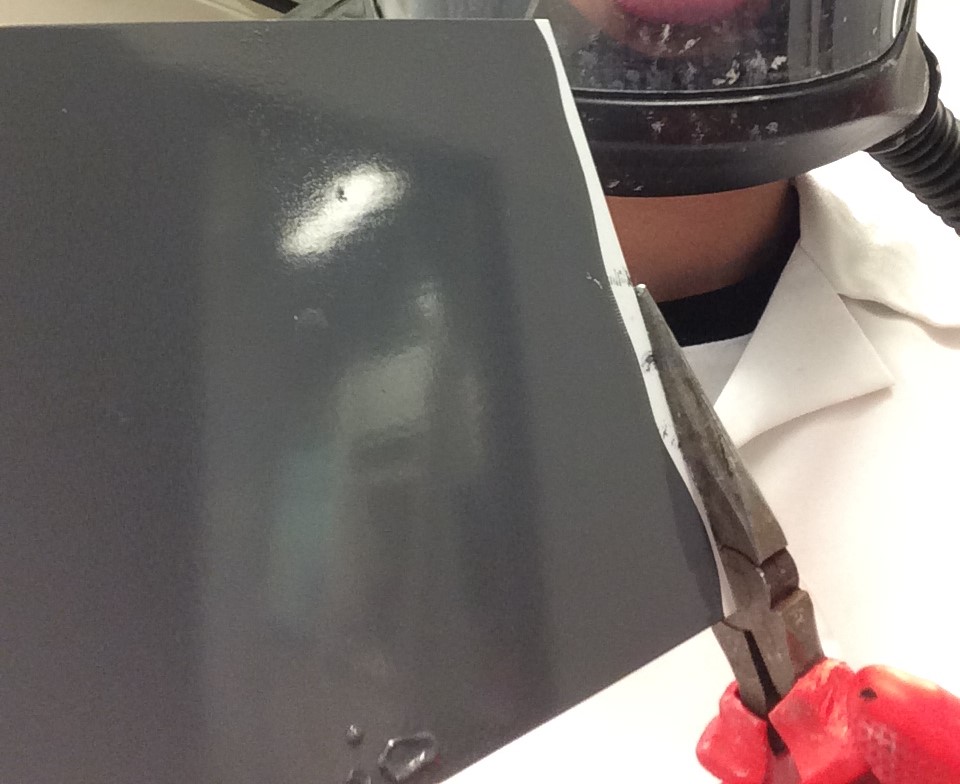
Top Analytica’s laboratory has a specially prepared painting process line. We can wash, pre-treat and paint for example multi-layered multi-layer paint coatings on metal sheets, either for condition tests or for testing mechanical properties.
Painted samples are attached to a magnetic surface, and painted with suitable rods to the desired layer thickness. Hardening of the paint is effected by heating. Optimal oven time can be determined using PMT tapes.
Color measurement
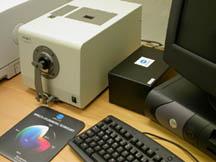
Minolta Spectrophotometer CM3600d color measurement apparatus works within the range of visible light 360 – 740 cm-1. Samples that can be measured are solid, flat, powders or crystals and liquids. Liquid samples are measured as a transmittance measurement.
Method: A white shadowless light is directed into the sample. The light reflected from the sample is detected. Every wavelength of light stands for a specific color. The color differencies between samples may be measured by using a color coordinate, consisting of black-white (delta L), red-green (delta a) and yellow-blue (delta b) coordinates.
- Color scale CIEL*a*b*
- Primary illuminant D65 (4 xenon lamps)
- Measuring geometry D/8
- Observer 10°
- Measurements with and without gloss
- Three sizes of measuring openings
